|
|
总该写点什么开头,yii2 自带也集成有codeception 测试框架,官方中也能看到:概述(Overview) - Yii 2.0 权威指南 - 文档 - Yii Framework 中文网,但具体怎么用得自己翻相关文档,没有教一系列该怎么入门
开始
如果是高级版,本身就支持了codeception,可进入到yii2项目根目录,运行此命令查看:
./vendor/bin/codecept -V可查看返回的版本信息:

codeception 2.5.6
如图上带遍已经有codeception 测试框架了
(推荐)没有的话可运行命令:
方式一:composer 安装
composer require "codeception/codeception" --dev方式二:phar 安装
wget https://codeception.com/php80/codecept.phar进行安装,完成后可根据安装方式,运行不同命令,如phar安装方式运行:
php codecept.phar -V安装完成后,如未未初始化,则运行命令:
./vendor/bin/codecept bootstrap codeception
# 其中 在 bootstrap 后的 codeception 为测试目录执行完成后,在根目录下会出现:codeception 目录 tests,结构如下:
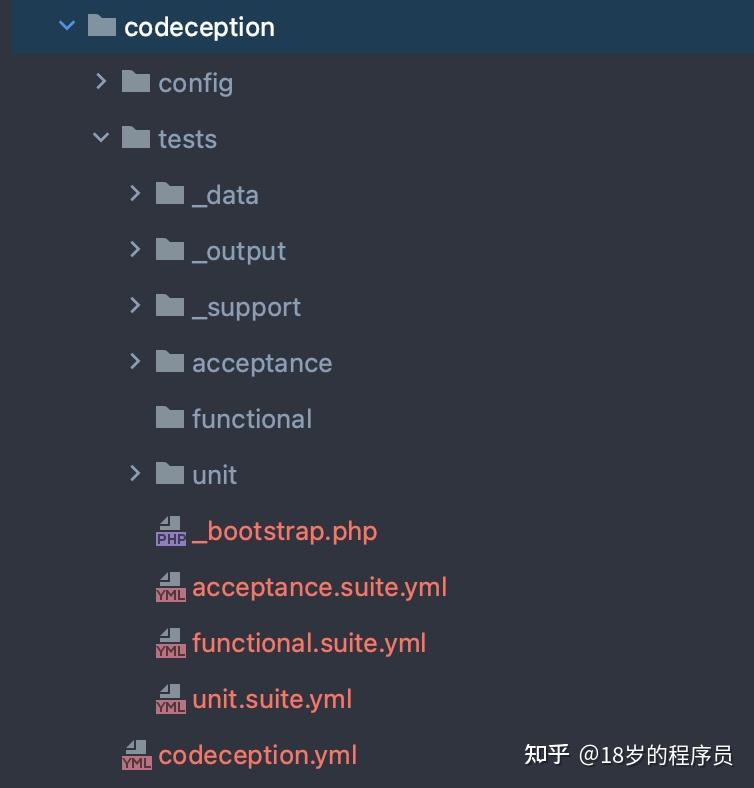
| 目录结构 | 目录描述 | | _data | 存放数据及生产数据目录文件,如上传图片时,需要一个文件可放在此目录下 | | _output | 存放的是验收测试 或其他测试的测试报告目录,codecept 自动生成的 | | _support | 存放的是codecept 核心帮助文件 | | acceptance | 验收/行为测试目录 | | functional | 功能测试目录 | | unit | 单元测试目录 | | _bootstrap.php | 项目入口文件 | | acceptance.suite.yml | 验收测试配置文件 | | functional.suite.yml | 功能测试配置文件 | | unit.suite.yml | 单元测试配置文件 | | codeception.yml | codeception主要配置文件 |
_bootstrap.php 文件在初始化后是不存在的,是需要自己手动写的。具体后面解释 以上就是codeception 生成后的目录结构。在生成完成后,第一步要做的是配置到自己框架中,我用的是yii2,其他框架参照思路就好
配置
不配置也能运行,但是到实际使用时候,你会发现在引用业务class时,不管你怎么写,总会报错提示:Error: Class 'xxxx' not fund....
其原因就是没有做codeception配置。
1.打开 codeception.yml ,写入配置
paths:
tests: tests
output: tests/_output
data: tests/_data
support: tests/_support
envs: tests/_envs
actor_suffix: Tester
extensions:
enabled:
- Codeception\Extension\RunFailed
modules:
config:
Yii2:
configFile: 'config/test-local.php' #加载Yii2配置文件,必须
settings:
bootstrap: ../_bootstrap.php #加载Yii2,必须
coverage:
enabled: true
whitelist:
include:
- codeception/* #需要测试的代码要注意的有两项:
modules:
config:
Yii2:
configFile: 'config/test-local.php' #加载Yii2配置文件,必须
settings:
bootstrap: ../_bootstrap.php #加载Yii2,必须2.编写测试入口文件
_bootstrap.php 可以理解为你其他模块下的index.php 入口文件,建议是放在codeception/tests目录下,
因为运行时候他是以 场景文件目录为开始,如 unit/FistTest.php ,其运行目录是在unit ,因此需要 ../
其内容为:
<?php
//定义模式
defined(&#39;YII_DEBUG&#39;) or define(&#39;YII_DEBUG&#39;, true);
defined(&#39;YII_ENV&#39;) or define(&#39;YII_ENV&#39;, &#39;dev&#39;);
//引入文件
require __DIR__ . &#39;/../../vendor/autoload.php&#39;;
require __DIR__ . &#39;/../../vendor/yiisoft/yii2/Yii.php&#39;;
require __DIR__ . &#39;/../../common/config/bootstrap.php&#39;;
//配置信息,这里默认使用的为后台配置,可自行修改
$config = yii\helpers\ArrayHelper::merge(
//配置信息,数据库信息
require __DIR__ . &#39;/../../common/config/main.php&#39;,
require __DIR__ . &#39;/../../backend/config/main.php&#39;
);
//(new yii\web\Application($config))->run() ;
//注册框架基本服务,不运行框架
try {
(new yii\web\Application($config));
}
catch (\yii\base\InvalidConfigException $e) {
die($e->getMessage());
}
//所有测试文件 以 Test.php结尾 eg: UnitTest.php
//所有测试方法 以 test开头 eg: testPay()
//测试 以index.php为运行组件运行测试文件
//window + R 输入 cmd ;
//进入到项目中的test文件夹
//运行:phpunit --bootstrap ./index.php demo/UnitTest
//解释:使用 phpunit 以 index.php 为组件,运行 demo 文件夹下的 UnitTest.php 中的所有测试代码config/test-local.php 是配置文件,需要不需要决定于你
配置完成后,才算真正的集成到框架中
到此安装及配置完成,后续怎么使用可以常考官方文档或我上一片的文章有介绍该如何使用~ |
|


 发表于 2023-6-9 14:33:56